Venturing into the world of photography can be both exciting and daunting, especially when you decide to move beyond the automatic settings of your camera. Mastering manual mode allows you to take full control of your shots, enabling you to achieve precisely the look and feel you envision. Here are some essential tips for beginners eager to explore manual settings and elevate their photography skills.
Understand the Exposure Triangle
The foundation of manual mode revolves around three key components: aperture, shutter speed, and ISO, collectively known as the Exposure Triangle. Each element affects your photo's exposure, and understanding their relationship is crucial.
-
Aperture controls the amount of light that enters the lens. A lower f-number (e.g., f/2.8) allows more light and creates a shallow depth of field, resulting in a blurry background. A higher f-number (e.g., f/16) lets in less light but increases the depth of field, keeping more of the scene in focus.
-
Shutter Speed determines how long the camera's sensor is exposed to light. Faster shutter speeds (e.g., 1/1000) freeze motion, whereas slower speeds (e.g., 1/30) can introduce motion blur, useful for creative effects like capturing movement trails.
-
ISO represents the sensitivity of the camera’s sensor to light. A lower ISO (e.g., 100) is best for bright conditions and yields high-quality images with less noise. Higher ISO settings (e.g., 3200) are suitable for low-light scenes but may introduce graininess.
Practice in Different Lighting Conditions
Experiment with manual settings under various lighting scenarios to understand how each element of the exposure triangle affects the outcome. Start with natural light, which varies throughout the day, providing opportunities to capture golden hour warmth or the crisp tones of midday sun. As you grow more comfortable, challenge yourself with indoor or low-light photography to see how ISO adjustments can aid in capturing clear images without sacrificing quality.
Use the Light Meter
Your camera’s built-in light meter is an indispensable tool in manual mode. It guides you in achieving correct exposure by indicating whether an image might be overexposed (too bright) or underexposed (too dark). Pay attention to the light meter as you adjust aperture, shutter speed, and ISO, aiming to keep the indicator centered for balanced exposure.
Experiment with Styles
Once you have a grasp on manual settings, explore different photographic styles to refine your skills:
-
Portraits: Use a wide aperture to focus on your subject while blurring the background, making them stand out.
-
Landscapes: Employ a narrow aperture to keep every detail crisp and clear, enhancing the depth and richness of the scene.
-
Action Shots: Opt for a fast shutter speed to freeze motion, capturing sports or wildlife in sharp detail.
-
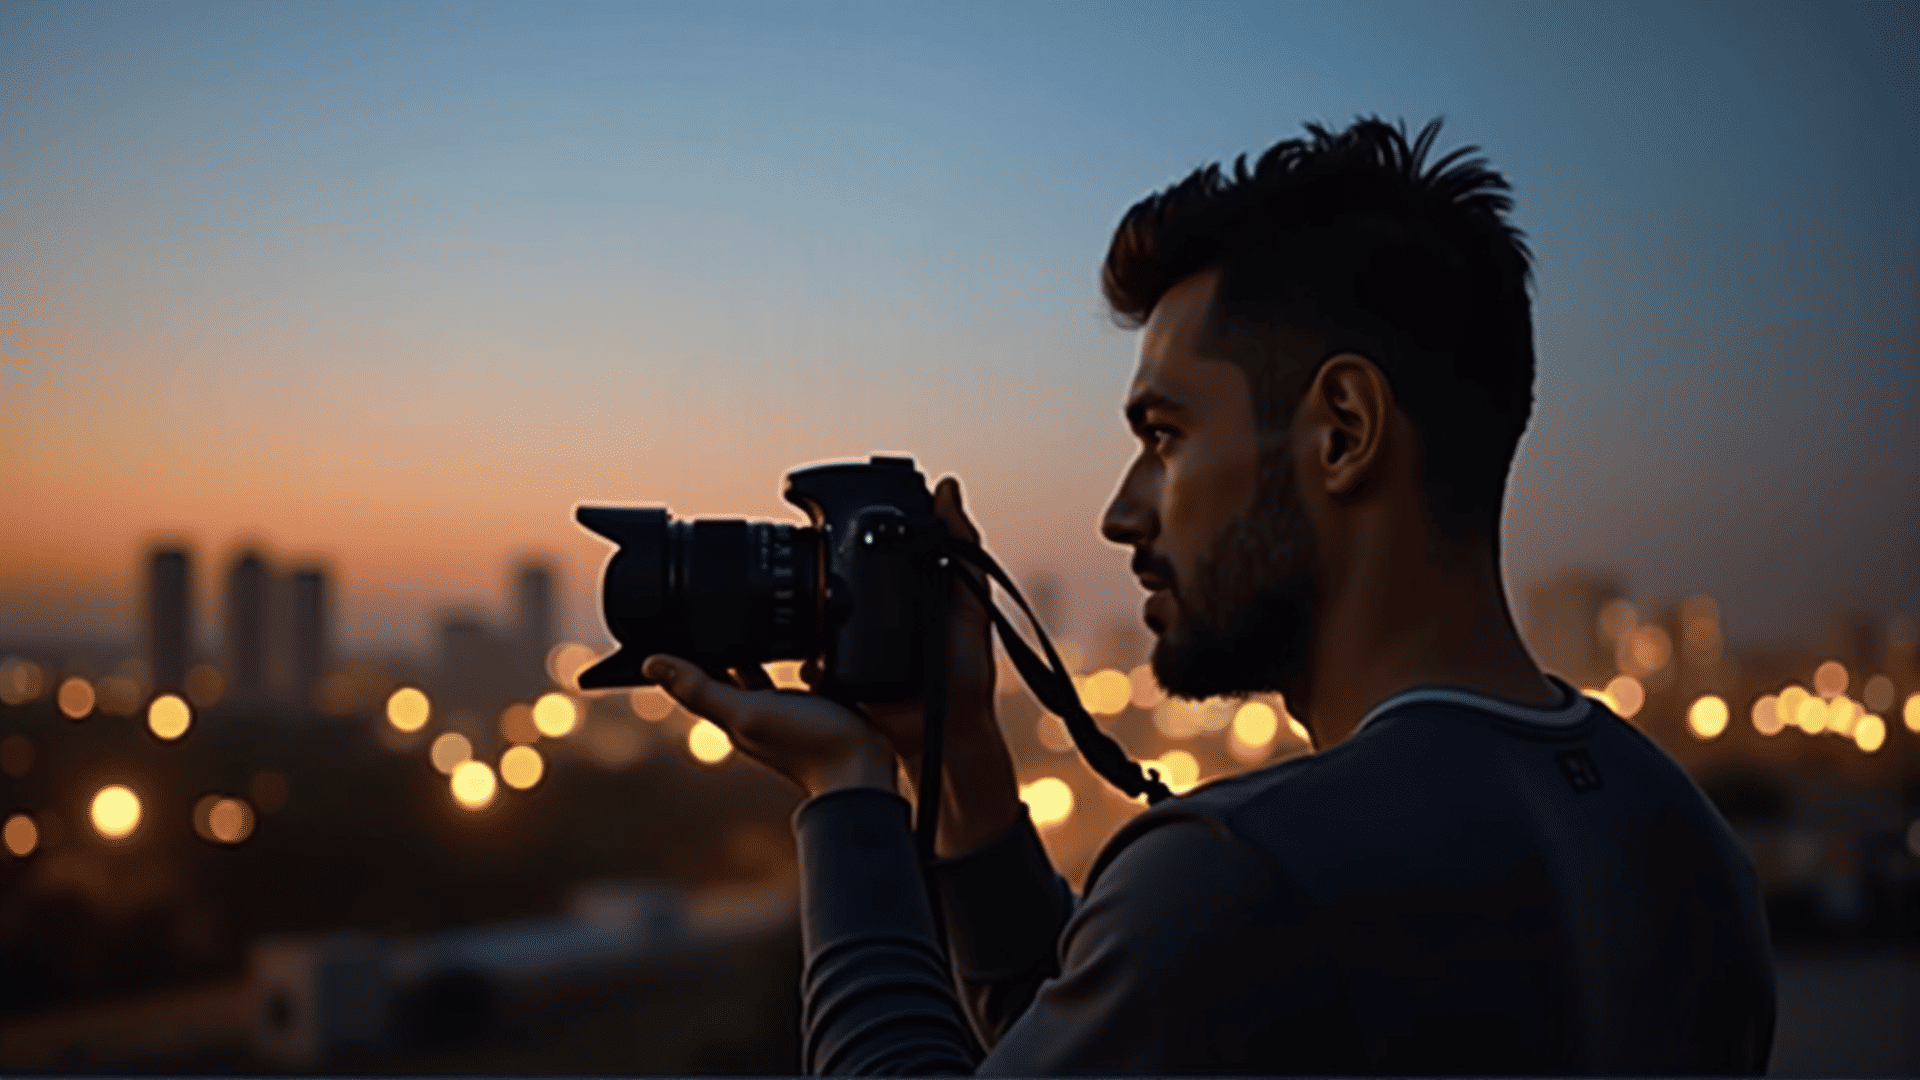
Night Photography: Increase ISO and use a slow shutter speed with a tripod to capture vibrant and detailed low-light scenes.
Observe and Learn
Photography is an iterative process, and reviewing your photos can provide valuable insights. Analyze each image to identify what worked and what didn't. Examine elements like composition, exposure, and focus. Over time, this practice will inform your instinctual adjustments, making on-the-fly decisions in manual mode more intuitive.
Conclusion
Switching to manual mode might seem challenging at first, but with patience and practice, you'll gain a deeper understanding of your camera and the art of photography itself. Embrace the learning curve and enjoy the creative freedom that comes with mastering manual settings. Each shot taken is a step closer to honing your craft and capturing the world as you've envisioned it through your unique perspective.